
Key Takeaways
- Building codes dictate most of the project’s feasibility, so measuring ceiling height, floor strength, and existing framing should happen before any design decisions are made
- Legal sleeping spaces require specific square footage, headroom, a fixed staircase, and an emergency egress window or door
- Insulation values for knee walls, rafters, and vaulted ceilings follow strict minimums and directly affect comfort and energy bills
- Budgeting realistically means accounting for structural reinforcement, HVAC extension, electrical upgrades, and finish work rather than just drywall and paint
- Comparing a full DIY approach against hiring specialists for framing, electrical, and HVAC usually produces the best cost-to-quality ratio
- Natural light, ventilation, and smart storage built into knee walls make the finished space feel like a proper bedroom instead of a glorified crawlspace
- Permits and inspections protect resale value, so skipping them to save time almost always backfires at closing
Walk into most homes and the attic is treated like a graveyard for Christmas decorations and boxes nobody has opened in a decade. Yet that same space sits directly under the roof, often spans the full footprint of the house, and comes with built-in character thanks to sloped ceilings and quirky angles. For families running out of room, it is the cheapest square footage you already own.
The appeal is obvious once you start pricing alternatives. A ground-floor addition means excavation, foundation work, and tearing into exterior walls. A basement finish often fights moisture, low ceilings, and limited daylight. The space above your head, by contrast, already has walls, a roof, and a floor structure of some kind. The question is not whether it can become livable, but which approach gives you the best mix of cost, comfort, and code compliance.
This guide weighs the trade-offs at each stage so you can decide where to swing a hammer yourself and where to bring in a pro. Some choices save thousands. Others save your back, your marriage, and your resale value.
Is Your Attic Actually a Candidate?
Not every attic is a conversion candidate, and the sooner you accept that the less money you waste. The first checkpoint is headroom. According to Do I Need A Permit, the International Residential Code requires that habitable rooms maintain a ceiling height of at least 7 feet 6 inches across at least half of the floor area. If your peak sits at 6 feet, you are looking at a dormer addition or a roof raise, both of which push the project out of weekend-DIY territory.
The second checkpoint is the floor. Attic joists are usually sized to hold insulation and the occasional electrician, not a bed, a dresser, and two adults. You may need to sister new joists alongside the existing ones or add a structural beam below. The third checkpoint is access. A pull-down ladder will not pass inspection as a bedroom entry, so a permanent staircase has to fit somewhere on the floor below.
Comparing Truss Roofs vs. Rafter Roofs
Here is where many homeowners hit a wall. If your attic is framed with prefabricated trusses, those webbed triangles are structural and cannot be cut without an engineer-stamped plan. Rafter-framed roofs, common in homes built before the 1960s, leave the attic open and far more conversion-friendly. Before you fall in love with a design, climb up and look at what is holding the roof up.
How to Convert an Attic Into a Bedroom Without Cutting Corners
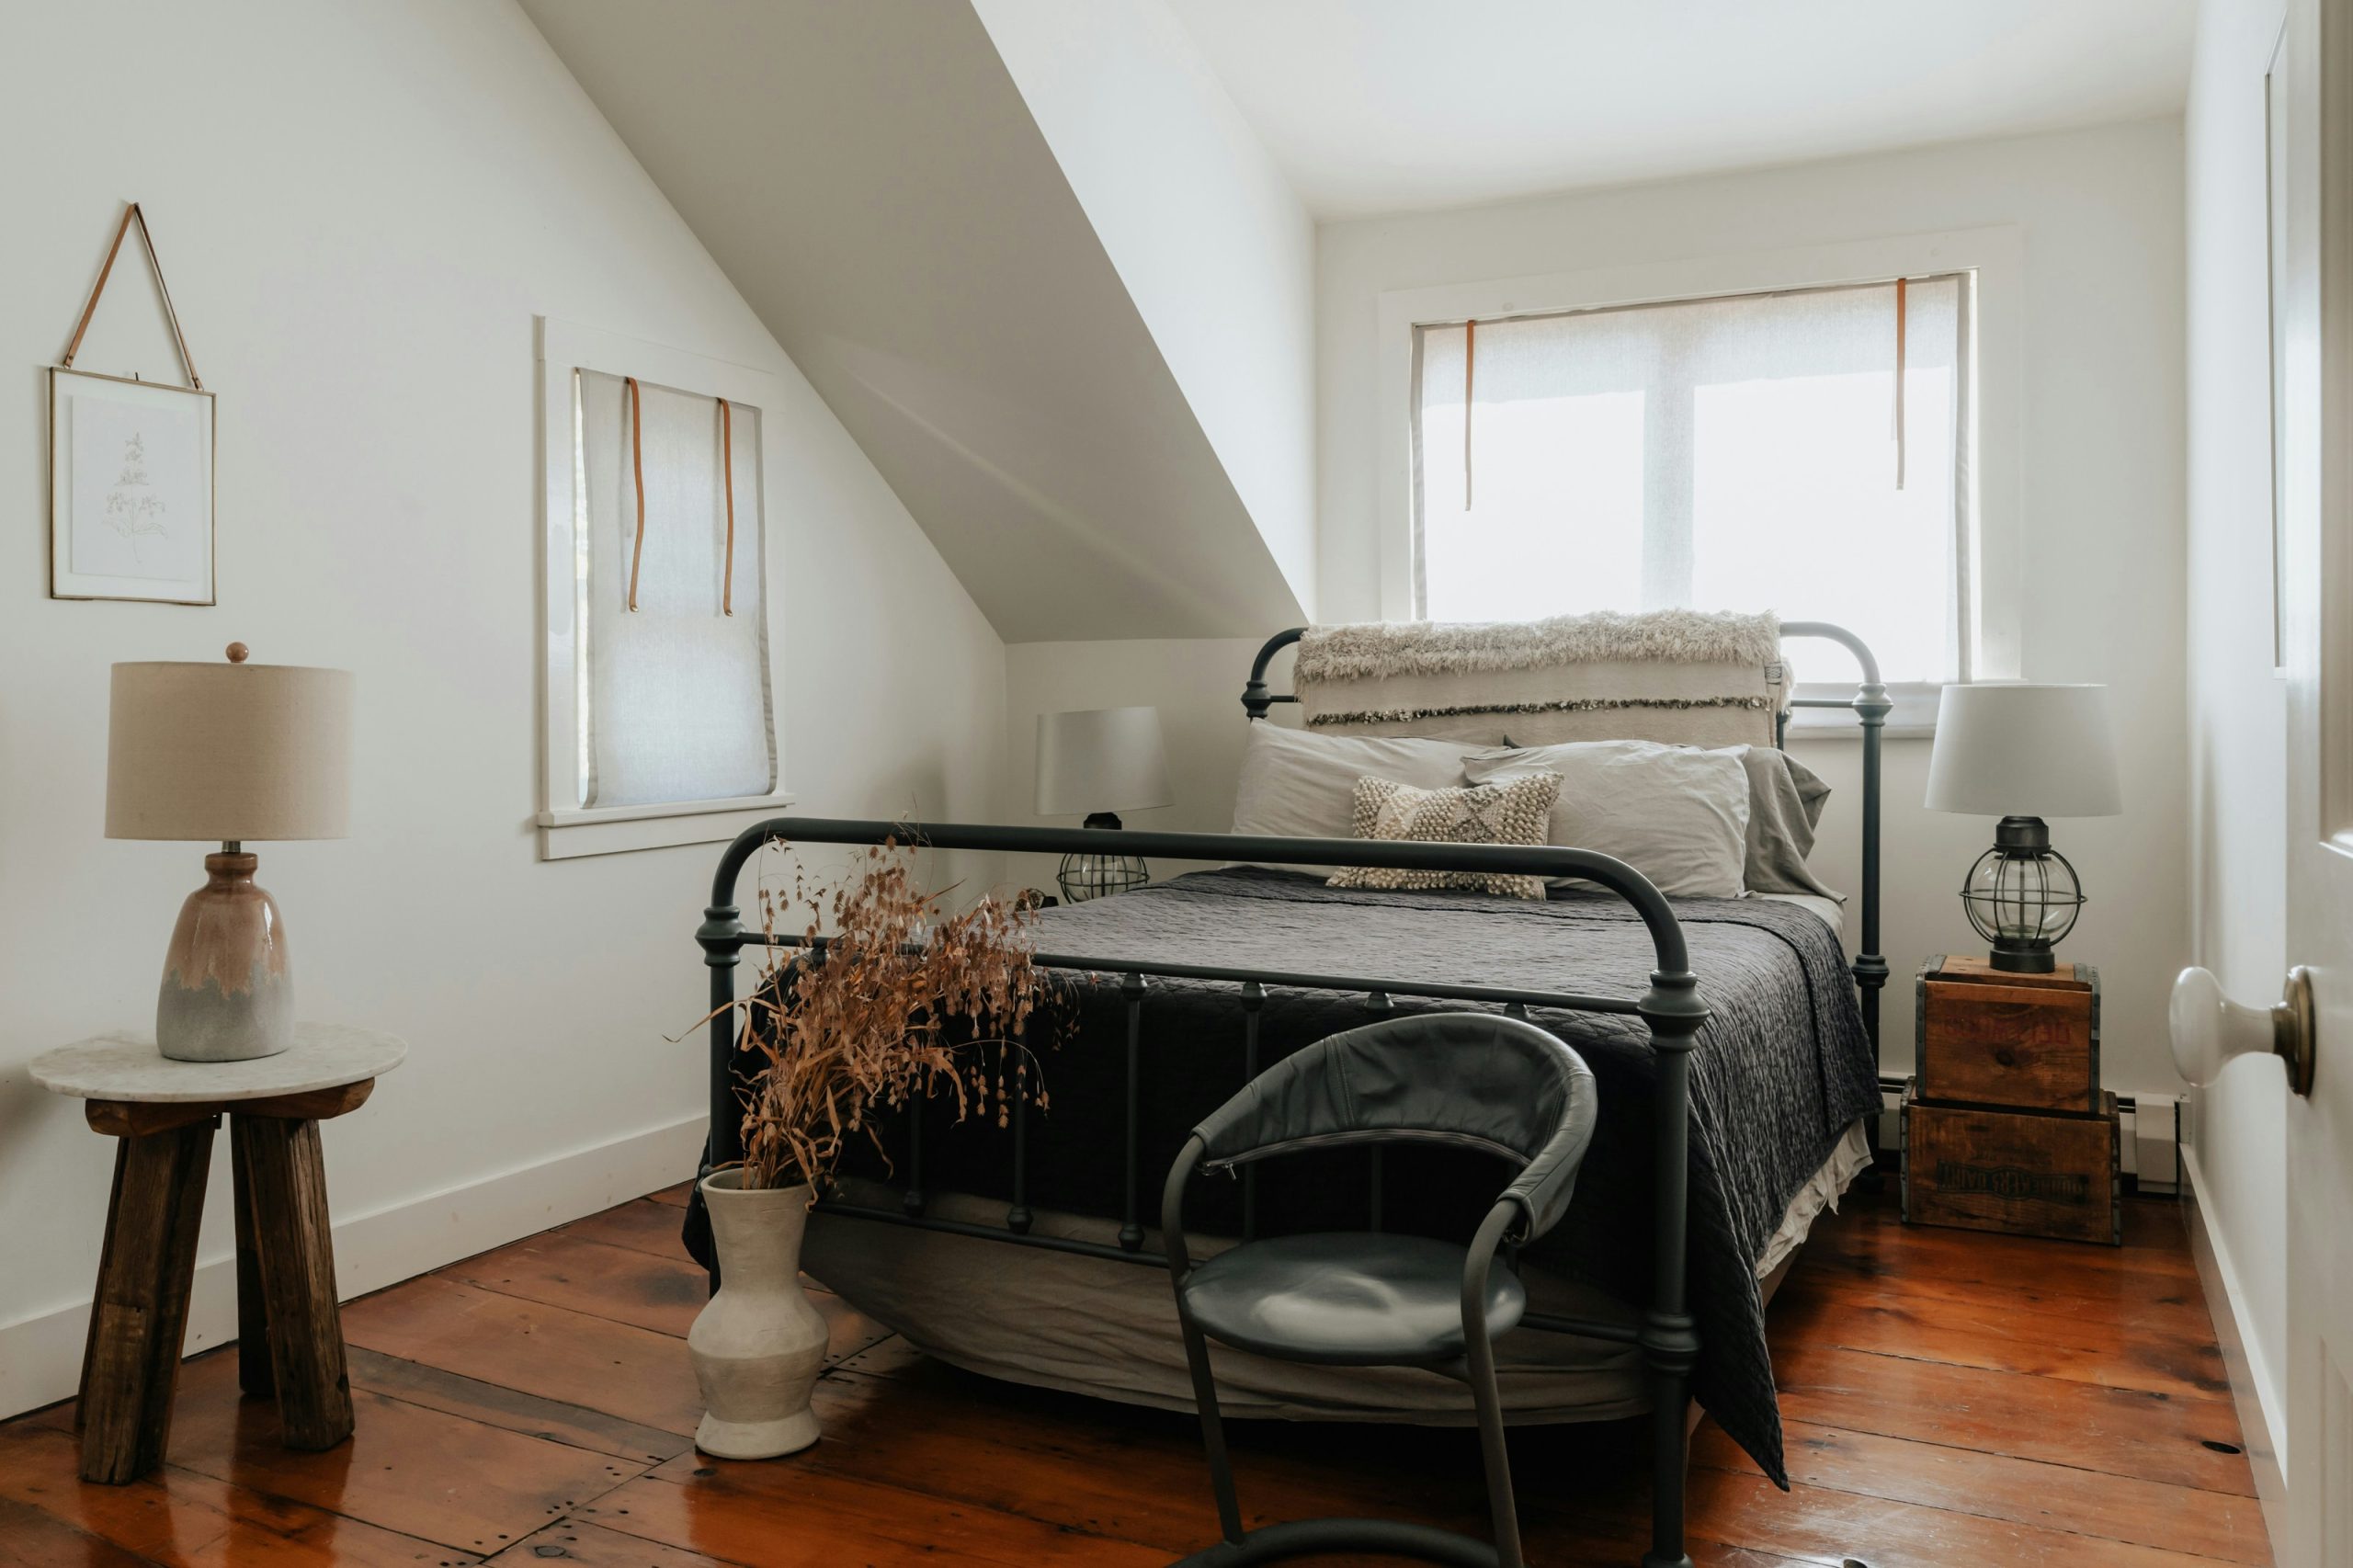
Once feasibility checks out, the project breaks into predictable phases. Learning how to convert attic into bedroom spaces successfully comes down to respecting the order of operations: structure first, then systems, then surfaces. Skip ahead and you will tear out finished drywall to chase a wiring mistake, or worse, discover mid-project that your floor joists cannot carry the load you just stacked on top of them. Experienced remodelers often say the attic punishes shortcuts more than any other room in the house, because every mistake happens in a cramped space with limited access and awkward angles.
A realistic sequence looks like this:
- Pull permits and submit framing or structural plans if required by your jurisdiction
- Reinforce floor joists and frame the staircase opening
- Rough in electrical, HVAC ducts, and any plumbing for a future bathroom
- Install the egress window and any skylights or dormers
- Insulate rafters, knee walls, and the floor perimeter
- Hang drywall, finish flooring, trim, and paint
Each of those phases has decision points that can swing the budget by thousands of dollars and the timeline by weeks. Do you blow in cellulose or install rigid foam between rafters? Do you run a mini-split or extend the existing HVAC trunk line? Do you frame a shed dormer across the back slope to gain headroom and a second egress point, or stick with a simple gable window and skylights to keep the roofline untouched? Those answers depend on climate, budget, and how often you plan to actually sleep up there. A guest room used three weekends a year calls for very different specs than a teenager’s primary bedroom that needs year-round comfort, soundproofing, and reliable climate control.
It also pays to think about sequencing within each phase. For example, when you convert attic framing, your electrician and HVAC installer should walk the space together before either one starts drilling, so ducts and wire runs do not collide inside a 2×6 bay. Insulation inspections typically happen before drywall, so schedule them early in the week to avoid losing a weekend waiting on the inspector. Order long-lead items like the egress window, custom stair treads, and any dormer trusses as soon as your plans are approved, because a two-week delivery delay on a single window can stall the entire interior finish stage.
Treating this like any other major remodel and planning home renovations with a written scope, a realistic timeline, and a contingency fund of at least 15 to 20 percent keeps surprises from derailing the project. Hidden knob-and-tube wiring, undersized rafters, or a chimney that needs relining are the kinds of discoveries that routinely surface once demolition begins, and the homeowners who finish on time are almost always the ones who built slack into the plan from day one.
What the Code Says About Legal Bedrooms
A finished room is not automatically a bedroom in the eyes of an appraiser or a building inspector. The distinction matters because it determines what you can list the home as when you sell. According to The Roofing Brief, an attic bedroom meets 2021 IRC requirements when it offers 70 square feet of floor area with at least 5 feet of headroom, 7 feet of headroom over half that area, a fixed staircase, an emergency escape opening, and a floor rated for 30 pounds per square foot live load.
The egress requirement is the one most DIYers underestimate. A standard attic gable vent will not cut it. You need an operable window large enough for a firefighter in gear to climb through, with the sill no more than 44 inches off the finished floor. In many attics that means framing a dormer or installing an egress-rated skylight, both of which add real cost.
When to Call the Building Department
Call before you buy materials, not after you have framed a wall. Inspectors would rather answer a ten-minute phone call than make you tear out work that fails. Ask specifically about floor loading, egress sizing, stair geometry, and smoke and carbon monoxide detector placement. Document their answers in an email so there is no ambiguity later.
Insulation, HVAC, and Making It Comfortable Year-Round
A beautifully finished attic that bakes in July and freezes in January is a very expensive storage room. Thermal performance has to be designed in from the beginning, not added as an afterthought. The roof deck is the single largest source of heat gain in the house, and the knee walls separate your new bedroom from unconditioned triangular spaces on either side.
Code minimums give you a baseline. According to the Salem Virginia building guidelines, knee walls require R-15 insulation and single-joisted vaulted ceilings need R-38 with a 1-inch ventilated airspace at the top and bottom. Hitting those numbers with batt insulation alone can be tricky in shallow rafter bays, which is why many pros combine spray foam against the roof deck with batts below.
For heating and cooling, you have three realistic options:
- Extend the existing forced-air system with new ducts and a dedicated return
- Install a ductless mini-split head sized for the room
- Add electric baseboard or radiant panels for low upfront cost
Mini-splits tend to win on efficiency and installation simplicity, especially when the main HVAC system is already running at capacity. Baseboard heat is cheap to install but expensive to run. Extending ductwork works best when there is a logical path from the air handler.
Budgeting, DIY Scope, and Where Pros Earn Their Fee
The honest budgets I have seen for a mid-sized attic bedroom land between $25,000 and $50,000 when the work is permitted and done to code. The spread comes down to how much structural work the floor needs, whether a dormer gets added, and how far the electrical panel sits from the new circuits. Finish choices matter less than most people think. A $400 light fixture does not change the project total nearly as much as a $6,000 structural beam.
Where DIY labor pays off most is in the demolition, insulation, drywall hanging, flooring, trim, and paint. Those tasks reward patience more than specialized training, and mistakes are forgiving. Where paying a pro almost always wins is structural framing, electrical panel work, HVAC design, and anything involving the roof envelope. A licensed electrician can wire the entire room in a day for what you would spend on tools and permits trying to do it yourself.
Realistic Line-Item Estimates
Rough numbers help calibrate expectations before you call anyone:
- Structural reinforcement and staircase framing: $3,000 to $8,000
- Egress window or dormer: $2,500 to $12,000
- Electrical rough-in and fixtures: $2,000 to $5,000
- HVAC extension or mini-split: $3,000 to $6,000
- Insulation to code: $1,500 to $4,000
- Drywall, flooring, trim, and paint: $4,000 to $10,000
Add 15 percent on top as a contingency and you have a working budget. Projects that come in under estimate are the ones where homeowners resisted scope creep and made finish decisions before demolition started.
Designing a Space That Feels Like a Bedroom, Not a Loft
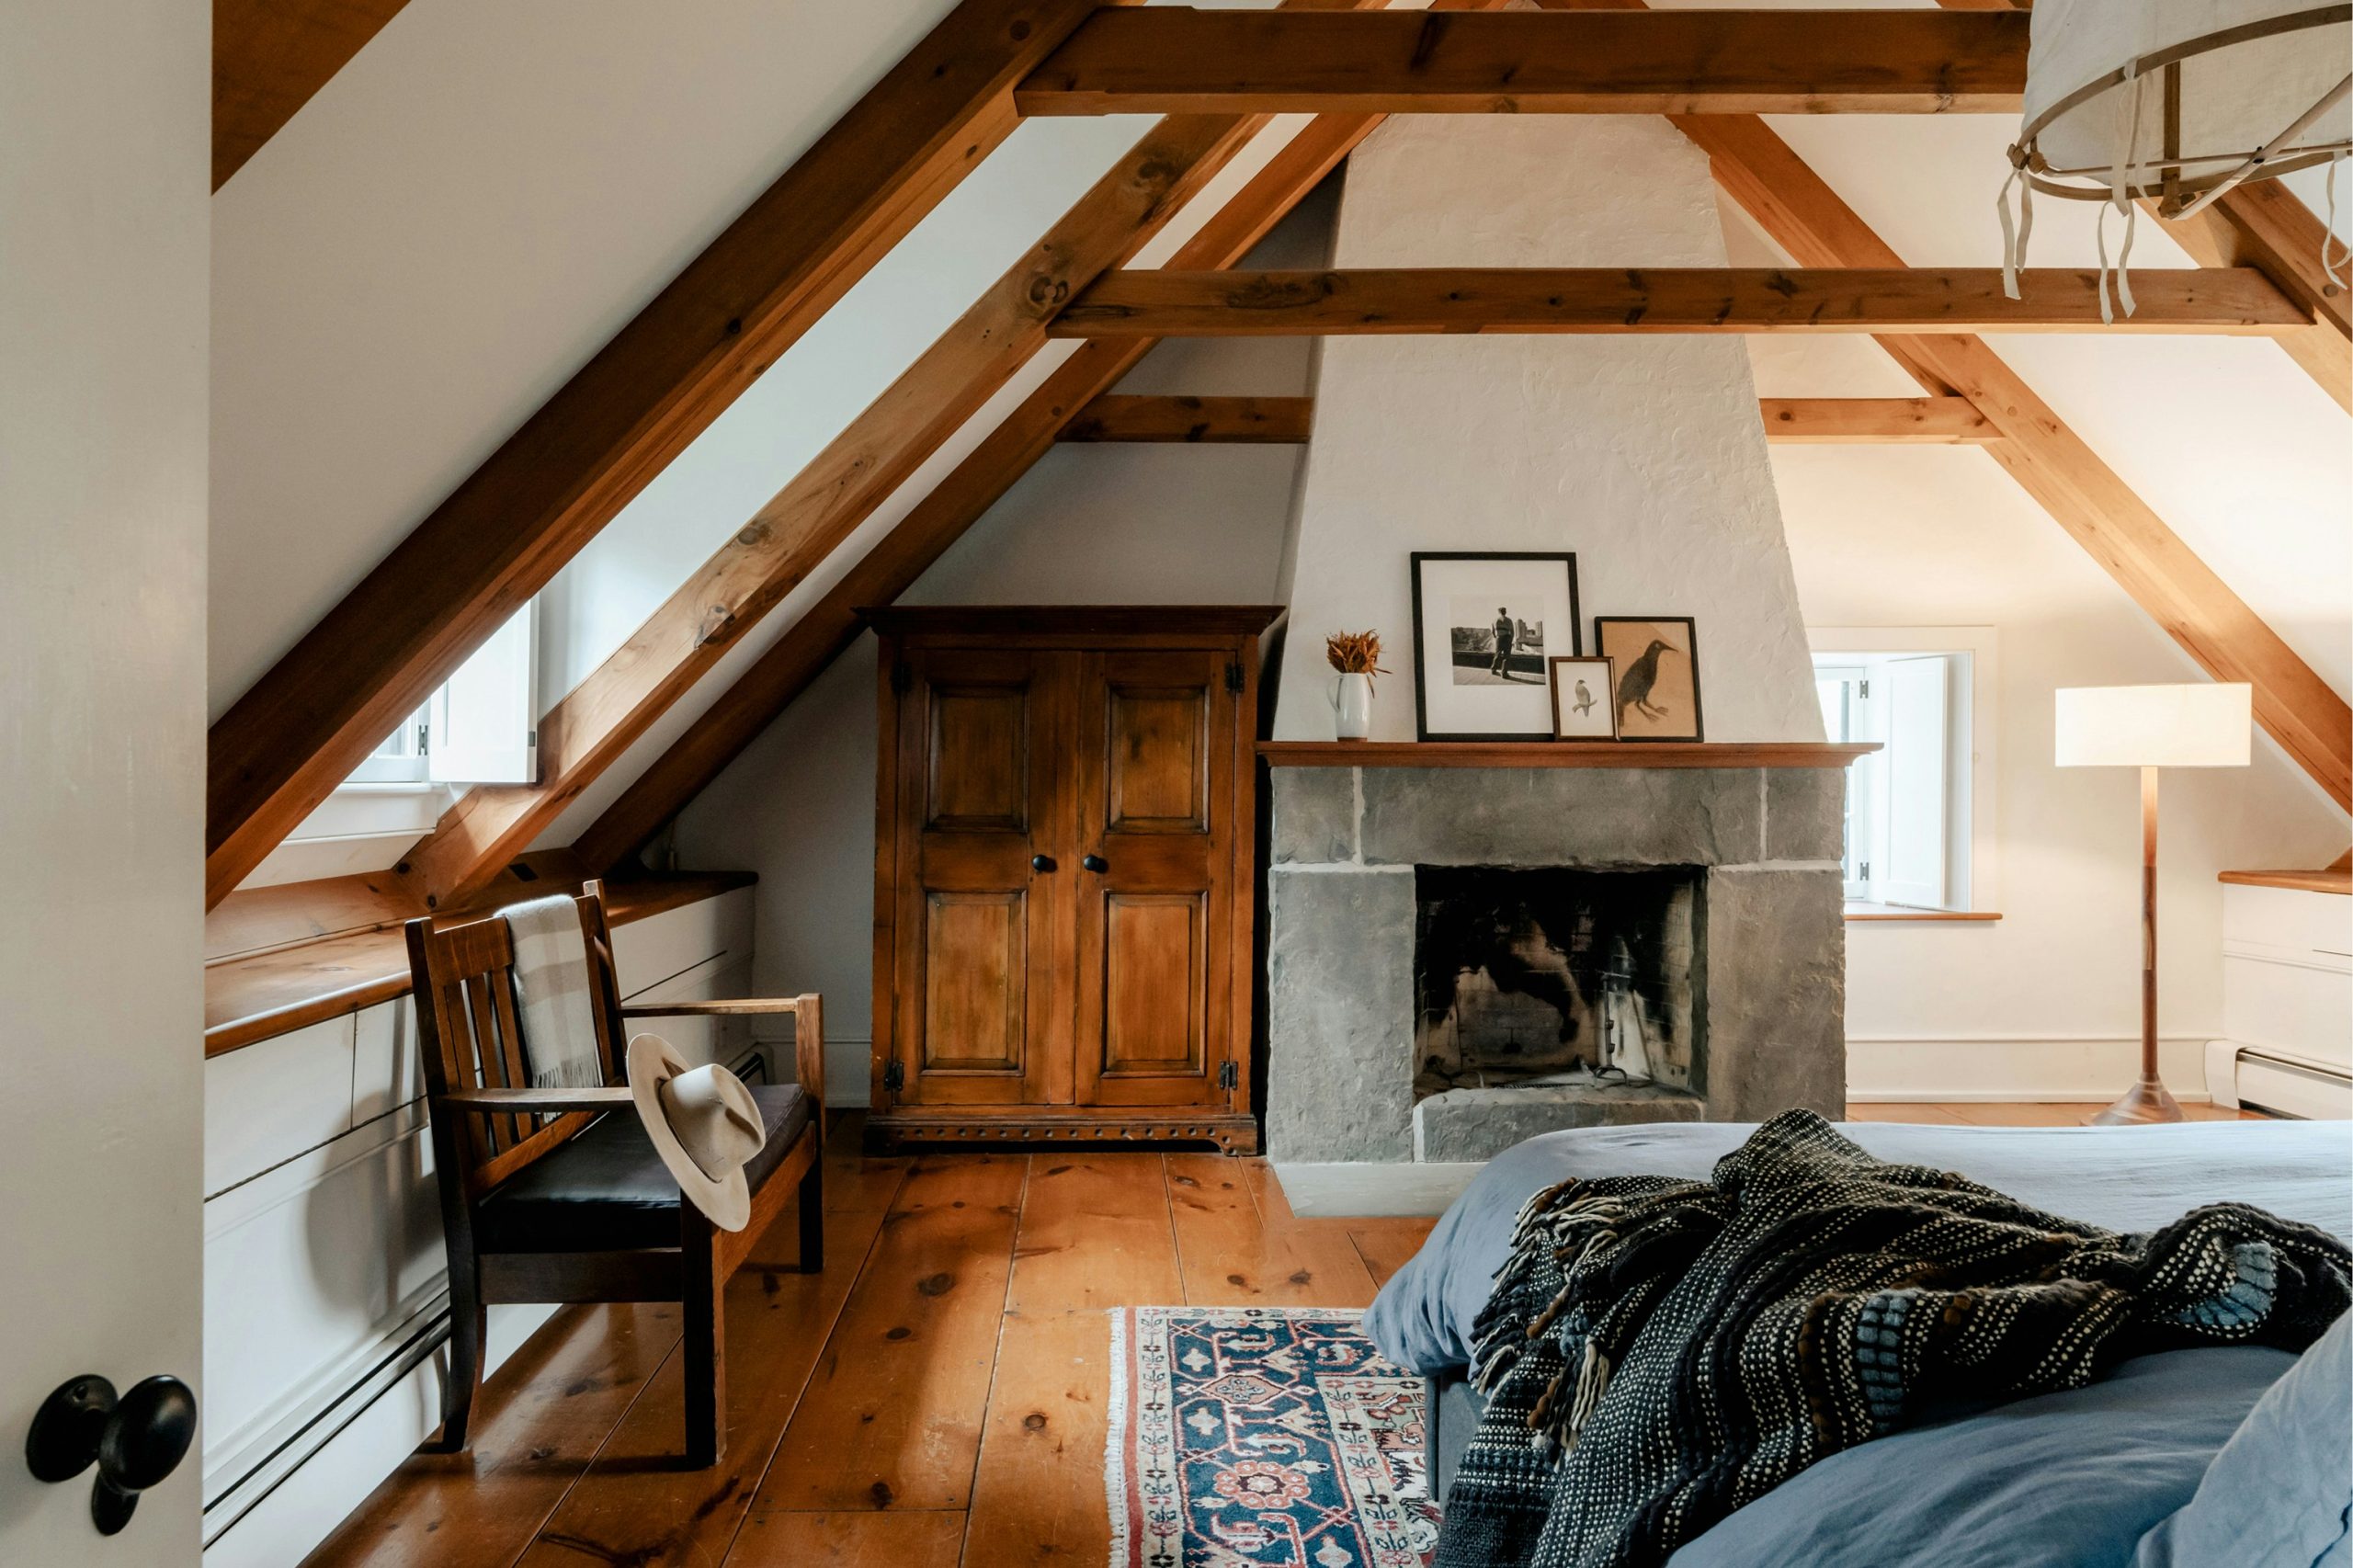
The architectural quirks that make attics interesting also make them awkward to furnish. Sloped ceilings eat usable wall space, dormers create pockets that beg for window seats, and knee walls hide dead triangles that can either waste square footage or earn their keep as storage. Thoughtful design decisions early in framing determine whether the finished room feels cozy or claustrophobic.
Natural light does more heavy lifting here than in any other room. A single well-placed skylight on the north slope can brighten the entire space without the heat gain of a south-facing window. Pair it with an operable egress window on a gable end and cross-ventilation becomes effortless on spring nights. Paint colors should lean light and warm to bounce whatever daylight you get across the angled planes.
Built-In Storage That Earns Its Keep
Those low triangular voids behind knee walls are the single best storage opportunity in the house. Options worth framing in during rough carpentry include:
- Pull-out drawers on heavy-duty slides for seasonal clothing
- Hinged access panels for luggage and bulky items
- Shallow bookshelves set into the wall between studs
- A built-in reading nook with a cushioned bench and hidden storage below
Deciding on these before drywall goes up costs almost nothing. Adding them later means cutting into finished walls and patching paint.
Finishing Touches and Final Inspection
Once the mechanicals pass rough inspection and insulation is signed off, the pace of the project speeds up dramatically. Drywall transforms a construction site into a room in a weekend. Flooring choices matter more for sound than appearance up here, since footsteps carry straight down into the bedrooms below. Engineered hardwood over a quality underlayment, cork, or carpet with a dense pad all help. Avoid floating laminate directly over subfloor unless you enjoy hearing every step echo through the house.
Schedule the final inspection only after smoke and carbon monoxide detectors are hardwired and interconnected with the rest of the house, the egress window operates freely, handrails on the staircase meet height and graspability requirements, and all outlets test correctly for ground and polarity. Inspectors fail more final walkthroughs over missing detectors and loose railings than any structural issue.
Closing Thoughts
Turning unused overhead space into a legitimate bedroom is one of the few home projects where the math genuinely works in your favor. You already own the square footage. The roof is already there. What stands between you and a finished room is a sequence of decisions about structure, systems, and finishes that reward careful planning far more than they reward raw skill. Homeowners who treat the project as a staged, permitted remodel almost always end up with a space that appraises as a true bedroom and holds its value at resale.
The DIY-versus-pro question does not have to be all or nothing. The smartest approach for most people is a hybrid: hire out the framing, electrical, and HVAC where mistakes are costly or dangerous, and keep the insulation, drywall, flooring, and finish work for yourself. That split tends to shave 30 to 40 percent off a fully contracted price without compromising the parts of the job that need a license.
Start with a tape measure and a flashlight before you start with a sketchpad. Confirm headroom, inspect the framing, and call your building department. If those three checkpoints pass, the rest is a matter of sequencing the work, respecting the codes, and refusing to cut corners that will cost you more to fix later than they ever saved up front.


